How To Draw A Burger
This tutorial shows how to draw a burger in nine steps with simple line and color drawing examples and easy to follow instructions.
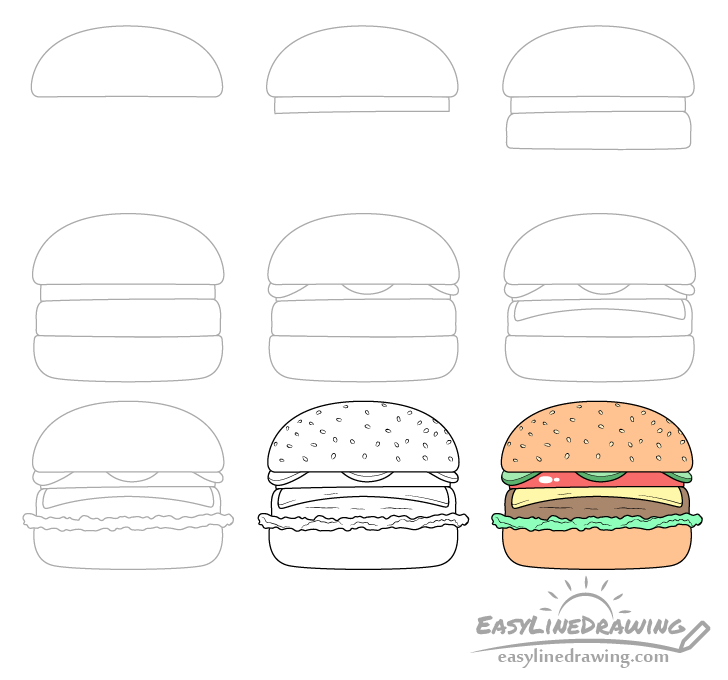
You will need to erase parts of the drawing moving from one step to another so start the tutorial using a pencil and draw very light and thin lines.
You can go over your strokes with darken lines after you are finished with the line drawing portion of the tutorial.
Step 1 – Basic Bun Top Drawing
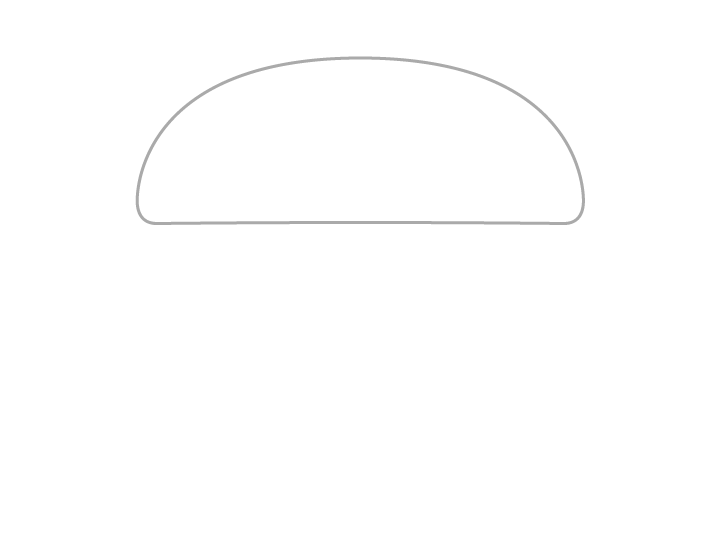
Start by drawing an outline of the top half of the burger bun. It should have a fairly round top and a flat button.
Step 2 – Draw the Tomato
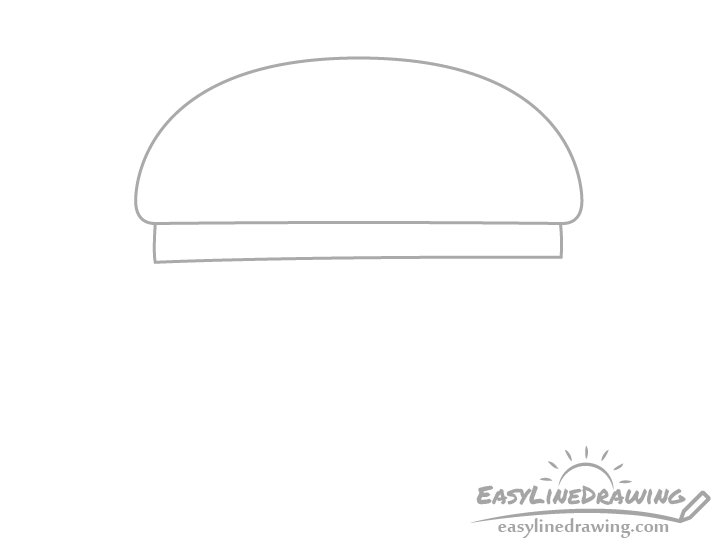
Below draw a large slice of a tomato. From this angle it will pretty much look like a very long rectangle. You may want to draw it just a tiny bit thicker on one side.
Step 3 – Draw the Patty
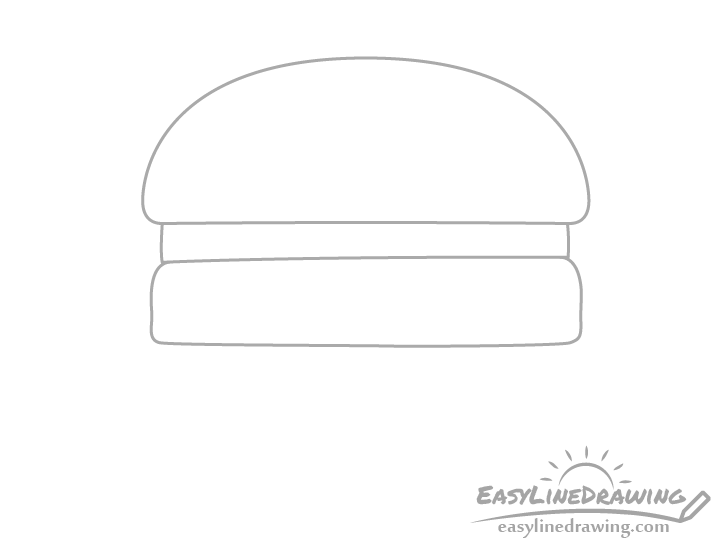
Below the tomato draw the burger patty. Try and make it slightly uneven in its width and shape so that the burger doesn't look to symmetrical.
Step 4 – Finish the Outline Drawing of the Burger
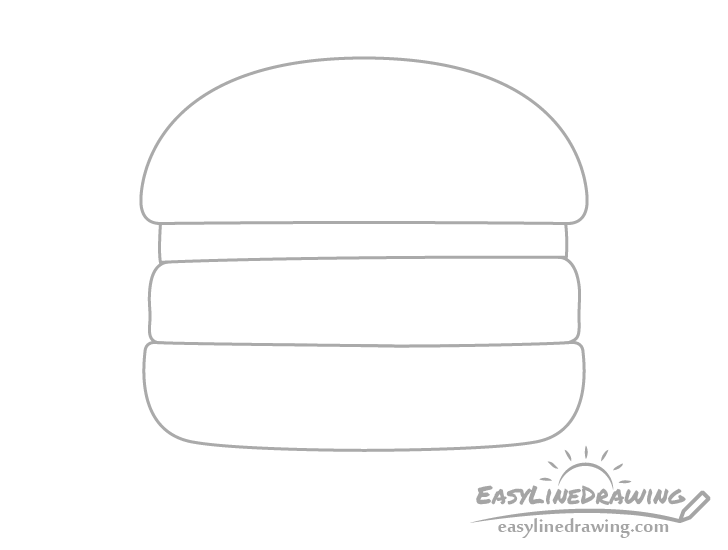
Finally draw the bottom portion of the burger bun to finish the outline drawing. It should have a flat top and a very slightly rounded button.
Step 5 – Draw the Pickles
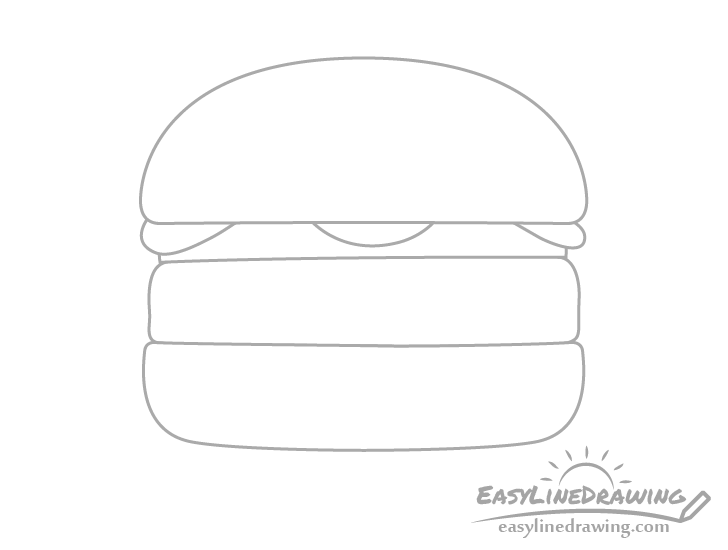
Sticking out from below the top bun draw the outlines of some pickles. Afterwards erase the parts of the tomato that will be covered by them.
For drawing a whole tomato or cucumber see:
- How to Draw a Tomato Step by Step
- How to Draw a Cucumber Step by Step
Step 6 – Draw the Cheese
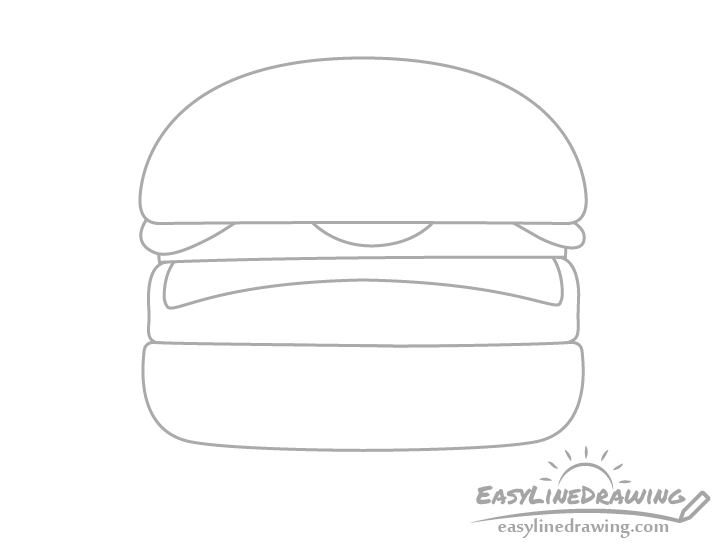
On top of the burger draw a slice of cheese. Make it's tips curve downwards to show that it's melting.
Step 7 – Finish Drawing the Toppings
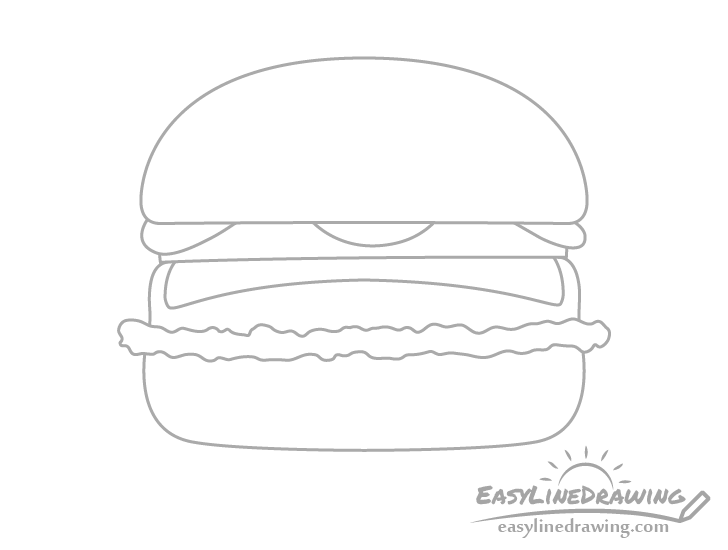
Finally between the burger patty and the bottom portion of the bun draw the lettuce. It's outline can basically just be a bunch of random curves of various sizes.
Erase the parts of the patty and bun covered by the lettuce once done.
Step 8 – Draw the Details
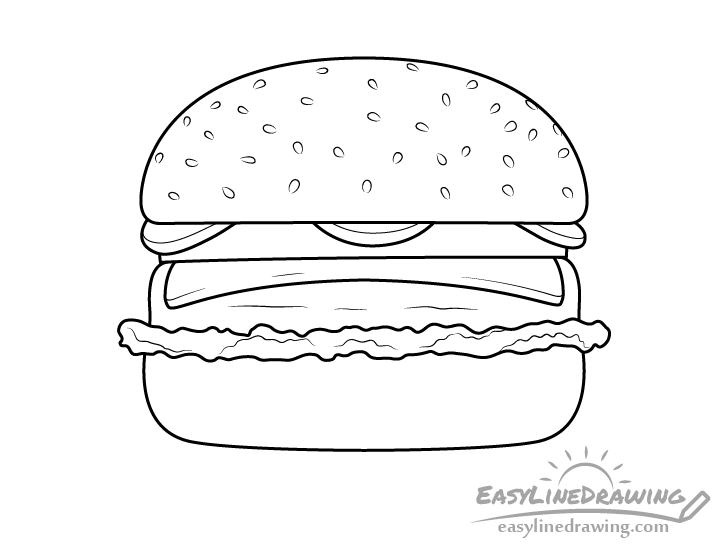
To finish the line drawing add the small details as follows:
- Sesame seeds on the top bun
- Lines on the pickles to show the thickness of the slices
- A broken up line on the cheese slice to show it's thickness
- A few horizontal wobbly lines on the burger to give it some texture
- Some random wavy lines along the lettuce to show it's folds
After you are done go over the burger drawing with either dark pencil lines, a black pen or marker.
Step 9 – Finish the Burger Drawing
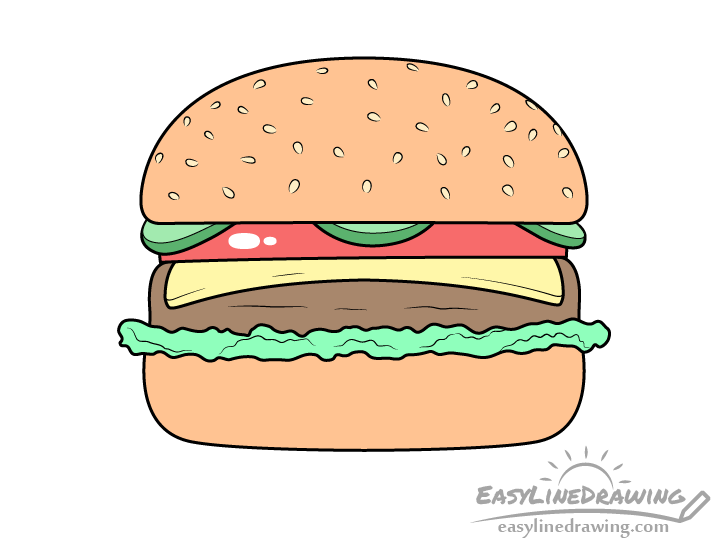
To finish the drawing you can add some very basic color to it using colored pencils or water based paints. Add the color as follows:
- Make the bun a light orange/brown color
- Make the sesame seeds a light orange/yellow
- Color the skin of the pickles a darker green and a the inner sides a light green
- Fill the tomato with red but leave a few small white spots to one side for the highlights (makes it look shiny)
- Make the cheese a light yellow
- Color the burger a dark brown
- Finish by making the lettuce a light green
Once you are done you should have a fairly simple but nice drawing of a burger.
Conclusion
A good approach to drawing a burger is to first outline all of it's larger parts, then you can add the next smaller set of toppings followed by the very small details.
For more tutorial on drawing popular food types also see:
- How to Draw a Shovel Step by Step
- How to Draw a Pizza Step by Step
- How to Draw a Doughnut Step by Step
- How to Draw a Bagel Step by Step
- How to Draw a Croissant Step by Step
- How to Draw a Cracker Step by Step
How To Draw A Burger
Source: https://www.easylinedrawing.com/how-to-draw-a-burger-step-by-step/
Posted by: parentdights.blogspot.com

0 Response to "How To Draw A Burger"
Post a Comment